Using a Projector: Best Practices
Using a projector to create your course offers some enhanced presentation capabilities because you can include audio, video, images, etc. Particularly for courses in science, biology, astronomy, geography or history, among others, projectors can add considerable value to your course. However, projectors tend to present an initial challenge for setting up optimal audio and video recording levels. In this section, we will review the 6 most common issues teachers sometimes come across when using a projector and possible solutions you can apply to correct these problems.
Issue 1. Glare/light reflection
Problem: This critical issue presents itself when the angle at which the camera is placed, captures the reflection of light coming from the projector and leaves a visible glare or glow on the screen. This issue is typically present to a considerable degree if you are using a highly reflective surface such as a whiteboard or painted wall with a high gloss, semi-gloss, satin enamel, or eggshell finish. Walls painted with a "flat" finish tend to drastically reduce light reflection. This problem is probably one of the most common issues affecting visual quality and one you must avoid when using a projector, specially one which is not a ceiling-mounted projector or if you are not using a projection-friendly screen. This issue must be avoided and corrected as it tends to distract from the lesson and makes it extremely difficult to focus on the board.
Solution: The easiest way to solve this issue is to either use a projection-friendly screen, or if this is not possible, to eliminate the source of the glare or light reflection. To eliminate the glow or glare, place the camera at an angle so that it does not "capture" or reflect the light directly. Usually by placing the camera to the side of the board or at an angle a few feet from the floor, the reflection of light will not be visible. Using a projector which is mounted to the ceiling can also be a viable alternative.
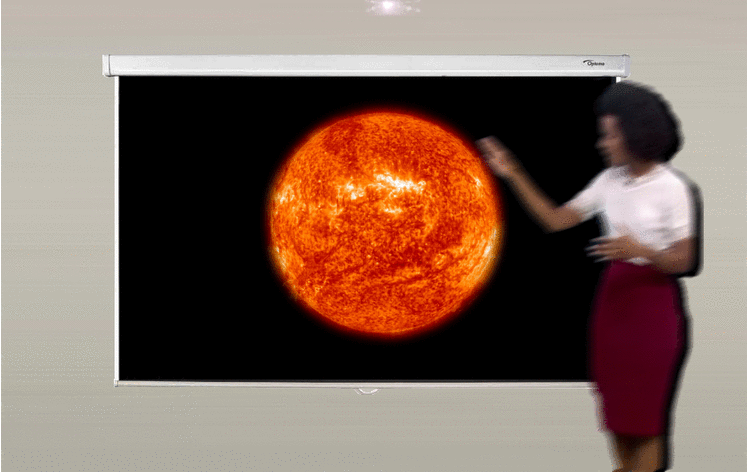
Camera placed at a side angle often eliminates glare coming from the center of the room because it does not reflect it from this angle:
Camera placed at an angle a few feet from the floor often eliminates glare coming from the center of the room because it does not reflect it from this angle:
Projectors which are mounted to the ceiling and have a short-throw or an ultra short-throw present drastically less glare and light reflection when placing the camera at a straight angle:
Issue 2. Presenter appears too dark
Problem: A non-critical issue you could across is that you may appear as a "shadow" or too dark either partially or fully. This typically happens when you are standing to the side of the projector's light path.
Presenter appears too dark:
Solution: The best practice here is to use a secondary light source which does not hit the board directly so that it makes you more visible while not opacating the board. In this scenario, a dim light source would be placed a few feet away and focused exclusively on you but not the board or projection screen. Another solution can include enlarging the projection area so that light also reaches the side of the board where you may be standing at times.
Issue 3. Focus or projector not properly set. Image or text appear blurry
Problem: This issue typically results from the failure to adjust the projector or camera's focus properly. As a result, the image and text displayed look blurry. The images and text should be easily legible with minimum effort required to see it properly.
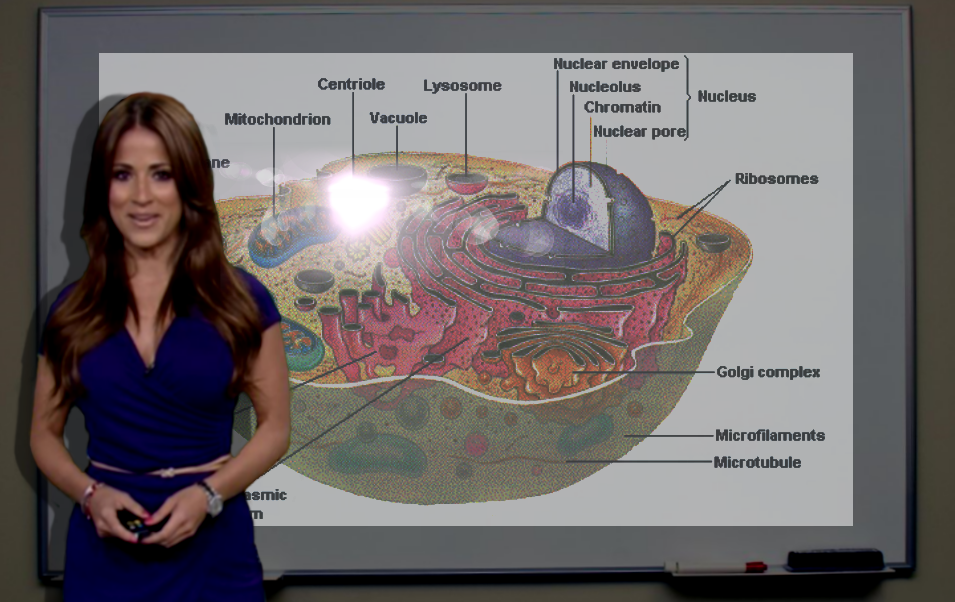
Image and text out of focus:

Solution: This issue can be easily corrected by adjusting the projector's throw or your camera's focus.
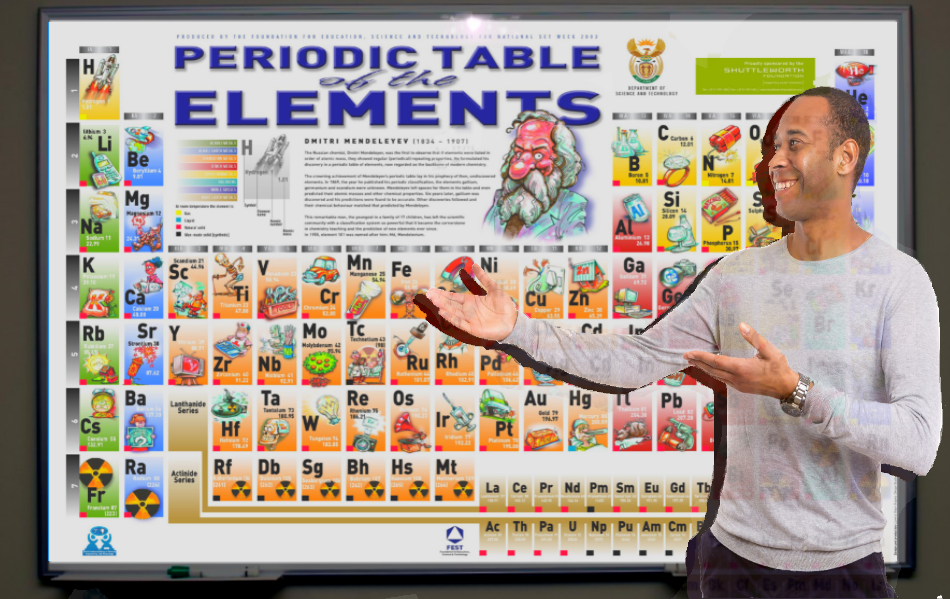
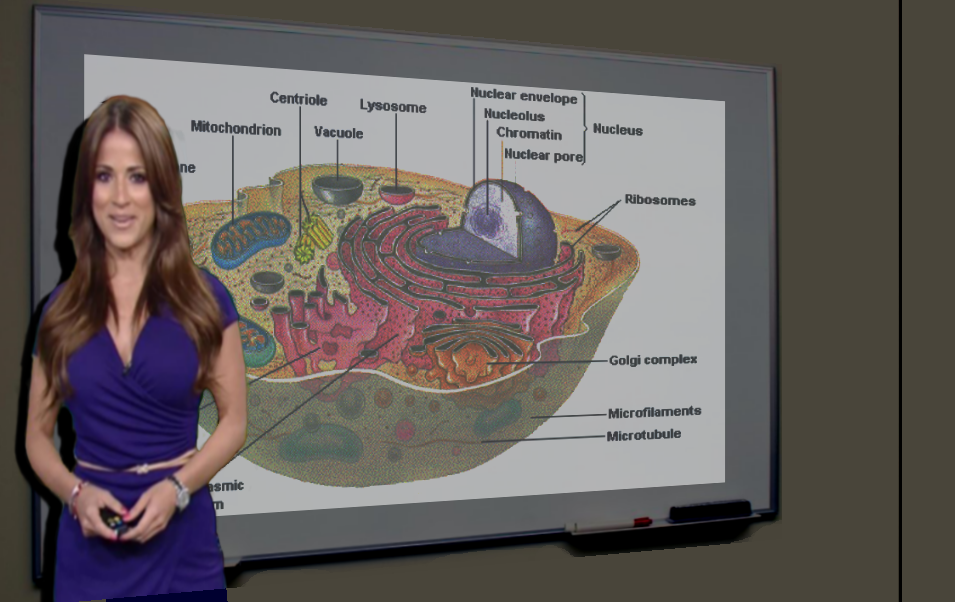
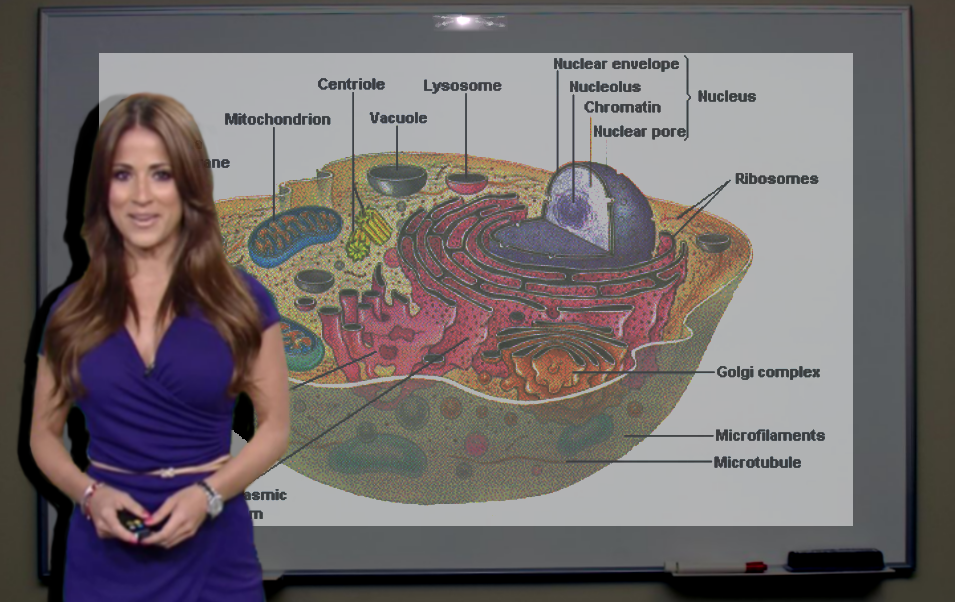
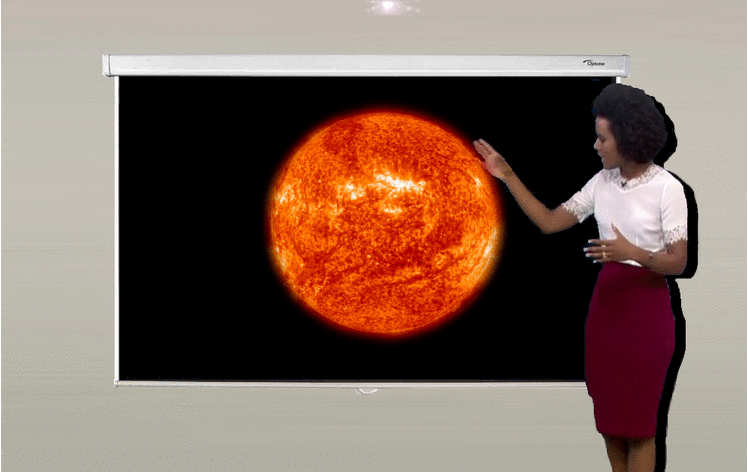
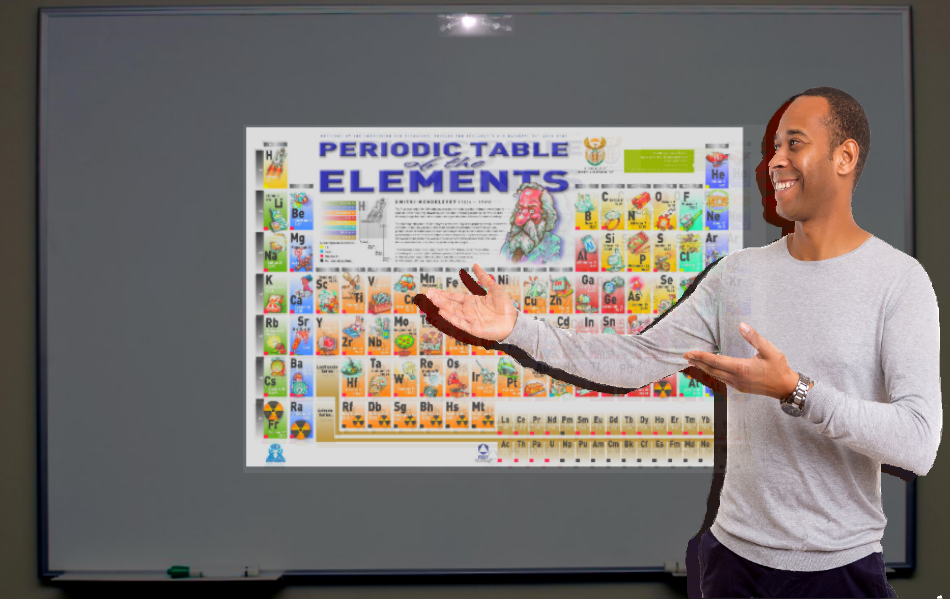
The image and text below display with the correct sharpness.
Issue 4. Focus not properly set. Board or presenter becomes blurry at times
Problem: This critical issue typically results from the failure to adjust the camera's focus properly or turn it off completely. As a result, the presenter and board often look blurry as the camera lens continously tries to re-adjust its focus when it detects movement. The camera's focus mechanism should not try to constantly re-adjust itself every few seconds.
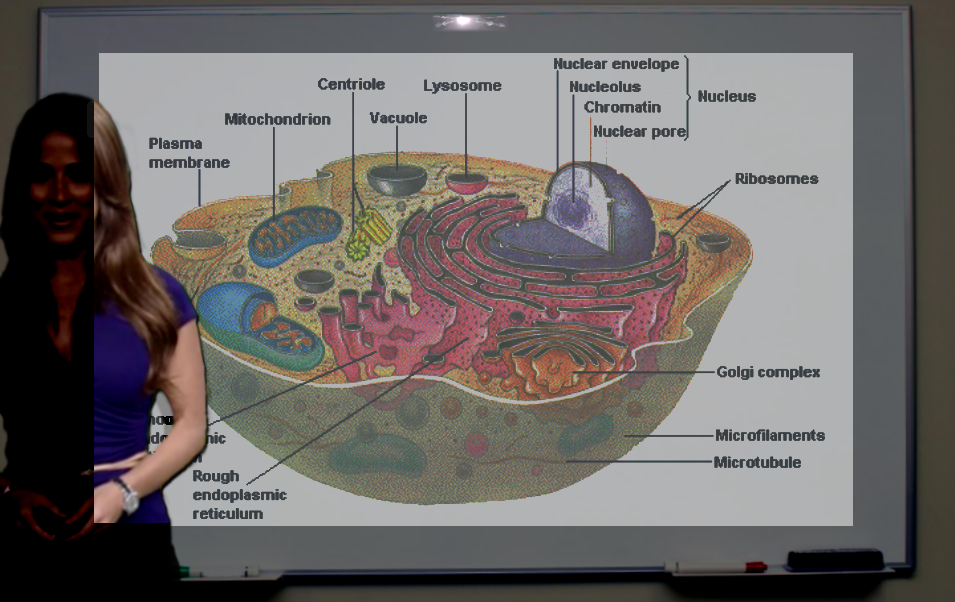
Presenter/board keeps shifting in and out of focus:
Solution: Depending on the camera, this issue can be corrected either by adjusting the camera's focus so that the focus point is actually between the board and the presenter or by focusing the camera manually and turning off the auto-focus feature. Once you turn off the auto-focus feature, the camera will stop trying to readjust the lens' focus when it detects changes or movement.
Issue 5. Image/text is under or overexposed, faint, indistinguishable or hard to see
Problem: Another issue you could come across is that the text or image projected may appear either too bright, or faint. This may be a result of the image being under or overexposed, not applying the correct contrast/brightness levels to the projector, or the source imagery being too light. The images and text should be easily legible with minimum effort required to see them properly.
Solution: Check to ensure that the output image/projection is appropriate. The best practice here is to first record a brief test lesson and then preview the clip on a PC (15" monitor preferibly) and/or tablet to check if the image is displaying properly, as this may vary depending on the size of the image and distance between the board and the camera. You can also ask someone who is unfamiliar with the contents of the lesson to view it and see if they can easily understand the text and images on the board. Once you have selected the correct brightness/contrast levels and text size to use, make a note of this.
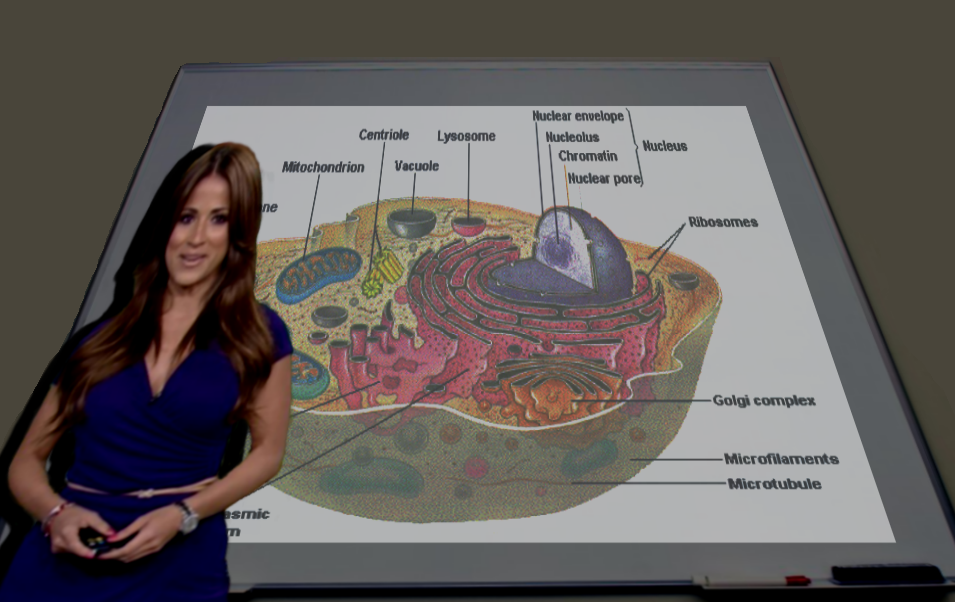
The image below displays correctly:
Issue 6. Image/text is too small, indistinguishable or hard to see
Problem: Another issue you could come across is that the text on the smartboard may appear faint or too small to your students. This may be a result of the source imagery being too small, poor resolution quality or the output projection is not large enough. The text should be easily legible with minimum effort required to see it properly.
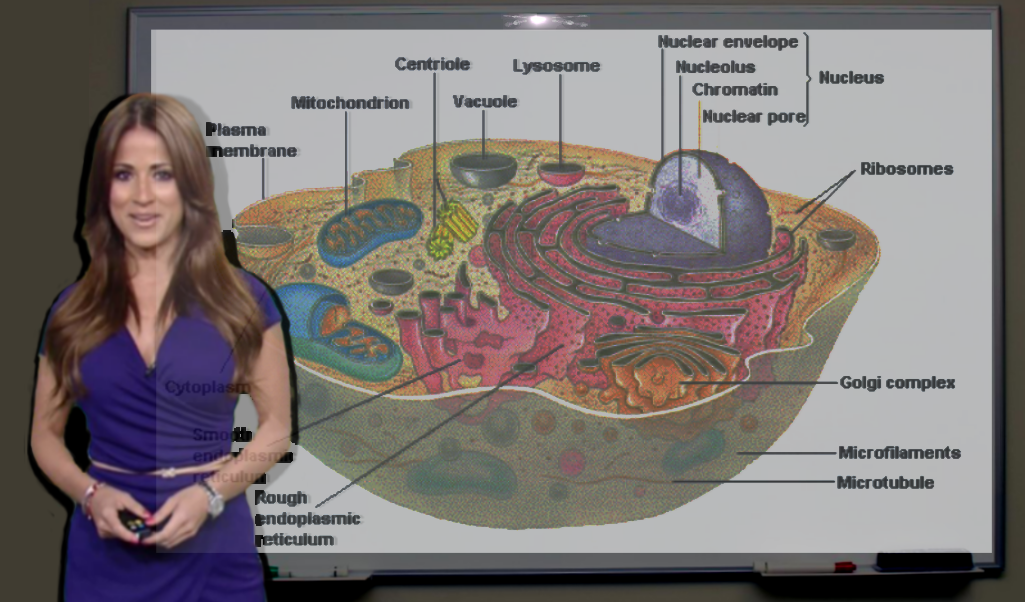
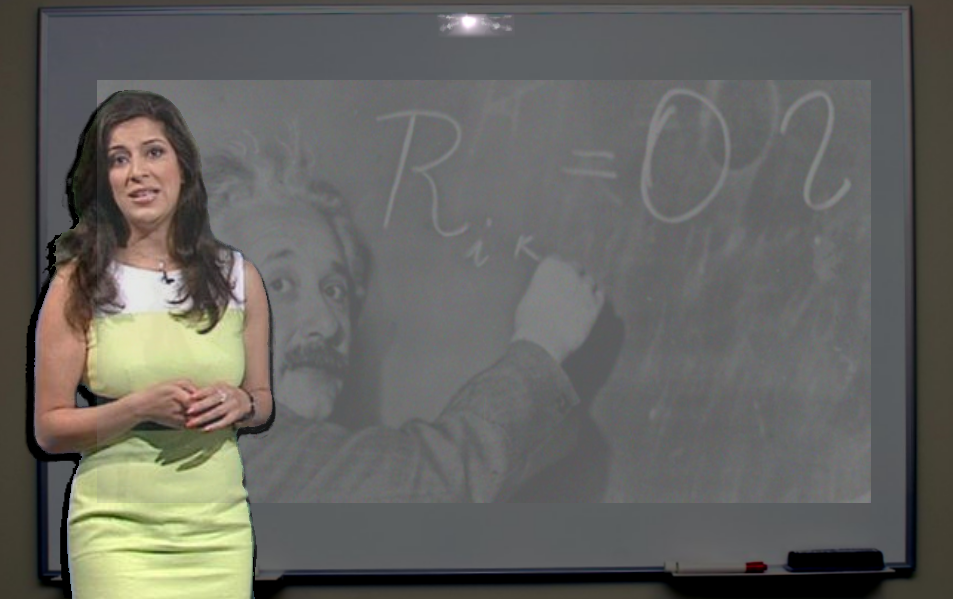
Text is too small:
Solution: Before recording an entire course, check to ensure that the output size is appropriate. The recommended practice is to record a short clip and then view it on a PC (15" monitor preferibly) and/or tablet to check if the image size and text are displaying properly. You can also ask someone who is unfamiliar with the contents of the lesson to view it and see if they can easily understand the text and images on the board. Once you have selected the correct text and image size, make a note of this. You can place an object on side of the screen (if the screen has a magnetic side) or a faint mark on the screen to use as a guide.
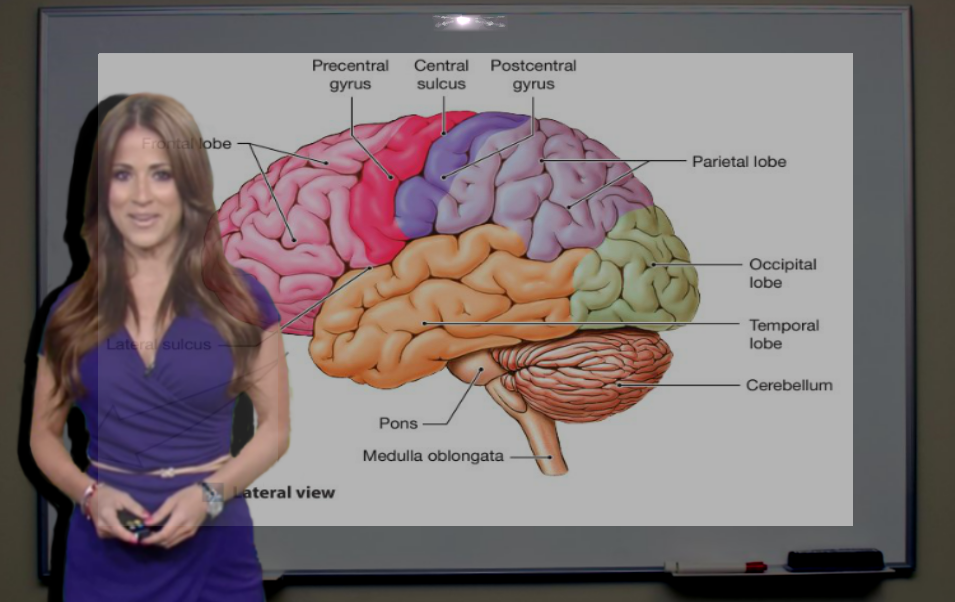
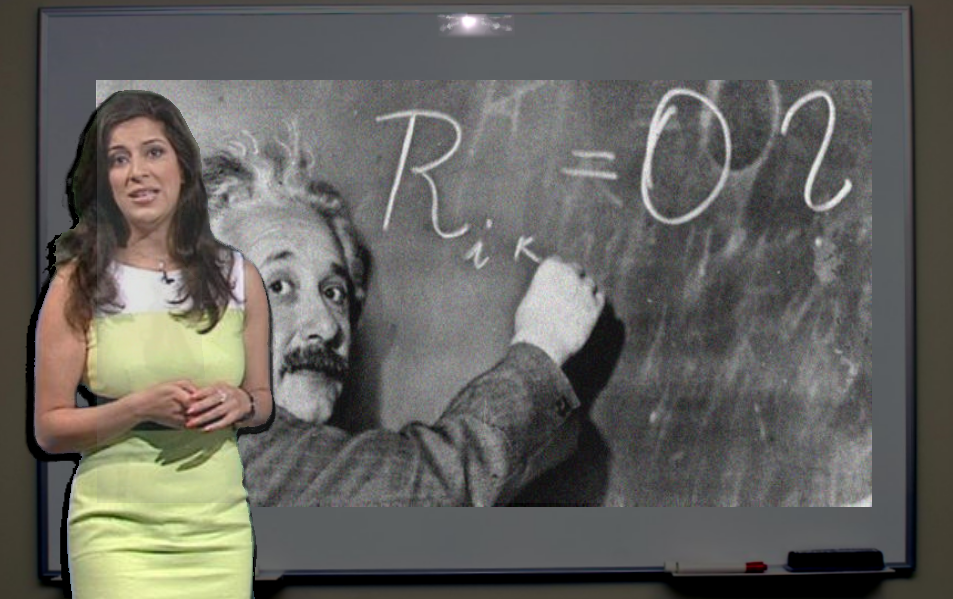
Example of larger image being used: