Using a Smartboard: Best Practices
In this section, we will review the 4 most common issues teachers sometimes come across when using a smartboard and possible solutions you can apply to correct these problems. Before recording your video-lesson, please ensure the area is illuminated well and free of disturbing sounds and noises. Generally speaking, there are two types of smartboards: LCDs/LEDs which are backlit and have their own source of light just as regular monitors or TVs do, and projector-based smartboards (standard throw, short-throw and ultra-short throw). This section deals with the first class only. For projection-based boards, please see: http://www.lernsys.com/using-a-projector-best-practices
Issue 1. Improper contrast/brightness settings between screen and presenter
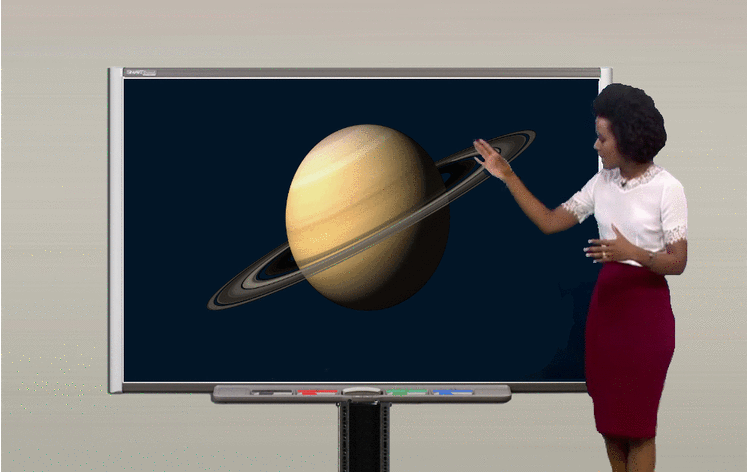
Problem: This issue presents itself when the smartboard's contrast or brightness output settings is usually too high, and as a result, digital cameras try to compensate by reducing the light input (usually by adjusting the lens aperture) and the presenter (teacher) appears either out of focus or too dark.
Solution: There are two recommended solutions for this issue. One solution is to lower or decrease your screen's contrast and/or brightness so that the amount of light the screen produces is significantly lower. Once this occurs, most digital cameras will not try to adjust the lens aperture or to reprocess the image digitally and adjust its brightness. If they do, they will often try to compensate and brighten the image and presenter. The second solution depends on the exact digital camera you are using. Some cameras have a manual setting which effectively disables or over-rides the brightness auto-adjustment setting, or record "modes" such as "beach" or "sunny day" which will handle high levels of light more evenly.
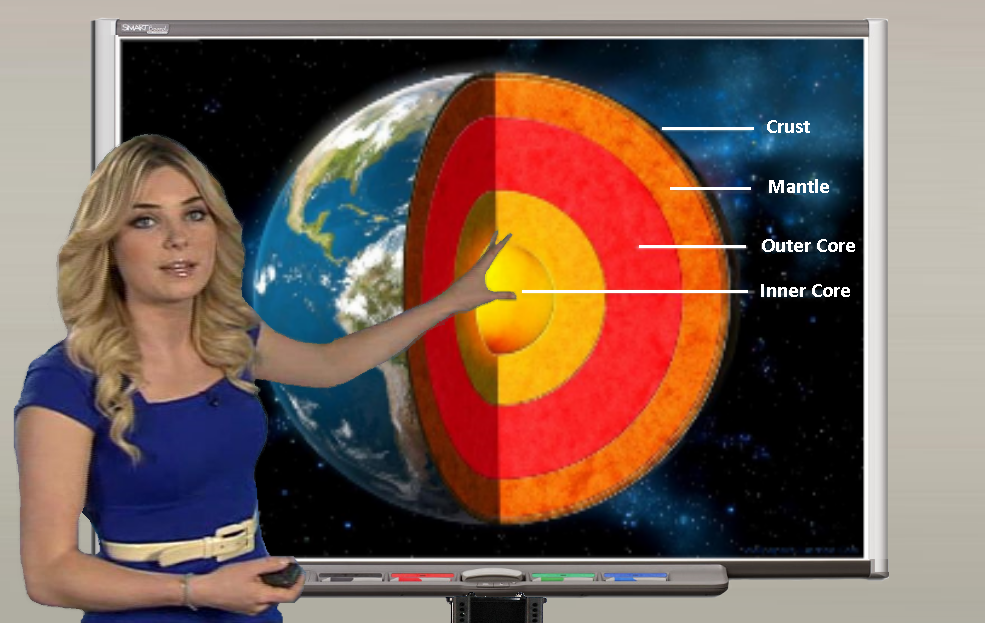
Once the contrast and brightness of the display has been lowered, the screen will not appear as bright as before and the presenter should appear correctly in the recording:
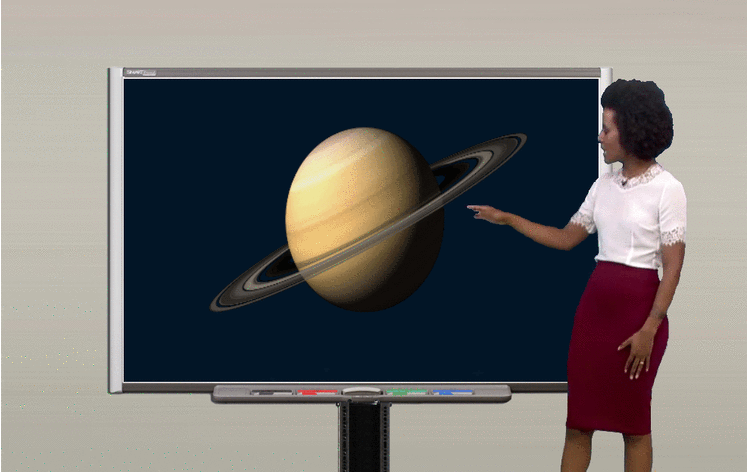
Sometimes placing the camera at an angle also reduces the amount of light the camera lens receives directly:
Issue 2. Focus not properly set. Board or presenter becomes blurry at times
Problem: This critical issue typically results from the failure to adjust the camera's focus properly or turn it off completely. As a result, the presenter and board often look blurry as the camera lens continously tries to re-adjust its focus when it detects movement. The camera's focus mechanism should not try to constantly re-adjust itself every few seconds.
Presenter/board keeps shifting in and out of focus:
Solution: Depending on the camera, this issue can be corrected either by adjusting the camera's focus so that the focus point is actually between the board and the presenter or by focusing the camera manually and turning off the auto-focus feature. Once you turn off the auto-focus feature, the camera will stop trying to re-adjust the lens' focus when it detects changes or movement.
Issue 3: Image/text is under or overexposed, faint, indistinguishable or hard to see
Problem: Another issue you could come across is that the text or image projected may appear either too bright, or faint. This may be a result of the image being under or overexposed, not applying the correct contrast/brightness levels to the screen or the source imagery being too light. The images and text should be easily legible with minimum effort required to see it properly.
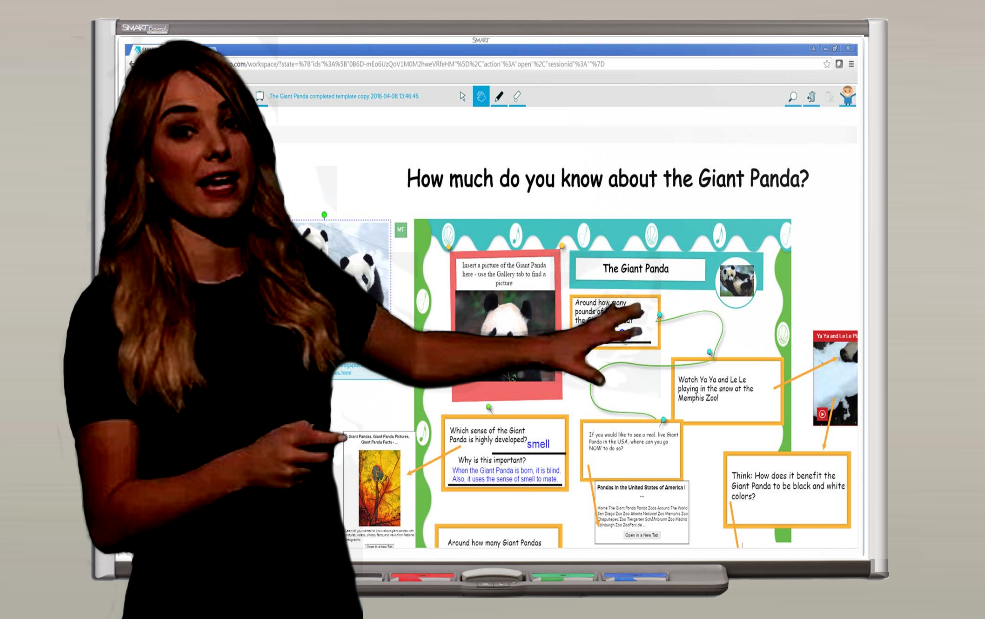
Text/image is under or overexposed, faint or hard to see:
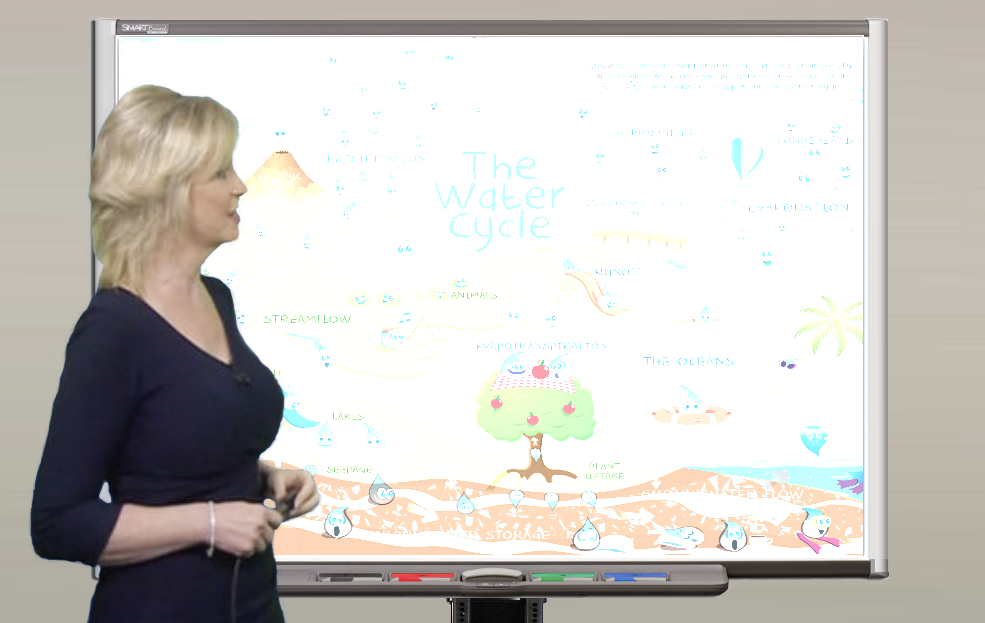
Solution: Before recording a full lesson or course, check to ensure that the output image is appropriate. The best practice here is to first record a brief test clip and then preview the clip on a PC (15" monitor preferibly) and/or tablet to check if the image is displaying properly. You can also ask someone who is unfamiliar with the contents of the lesson to view it and see if they can easily understand the text and images on the board. Once you have selected the correct brightness/contrast levels and text size to use, make a note of this.
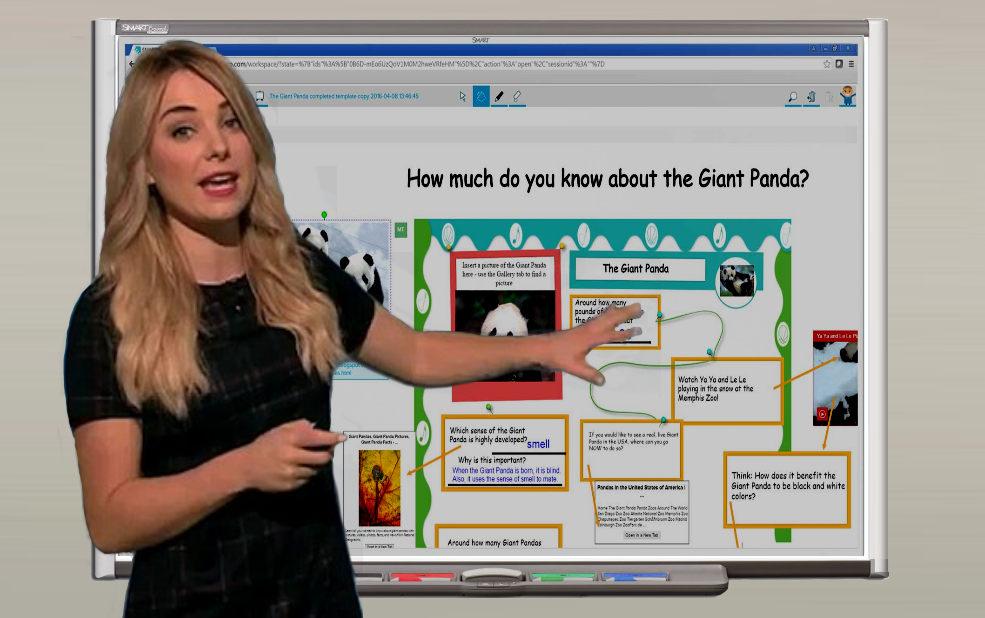
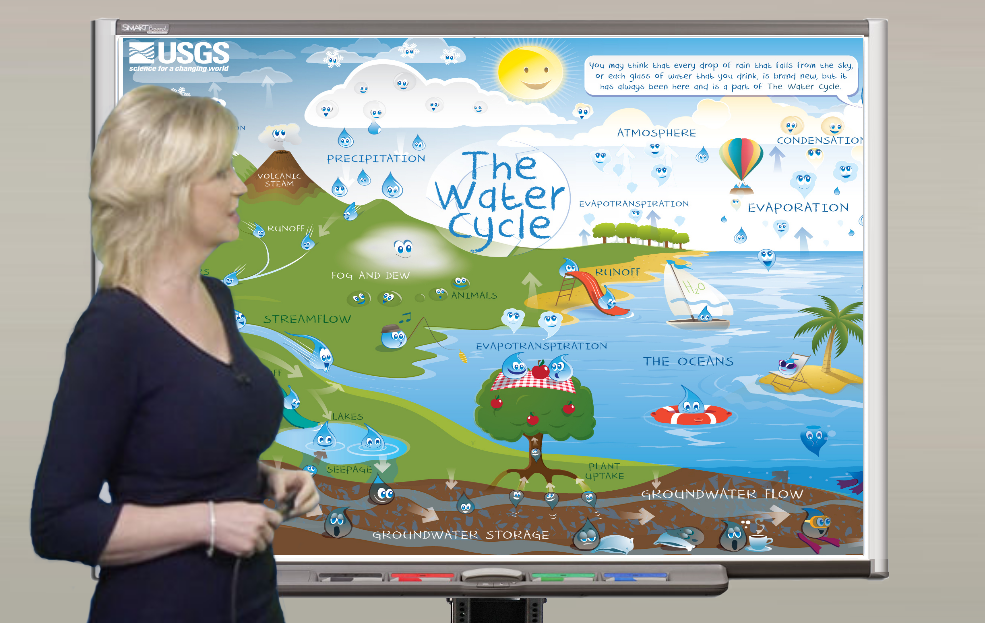
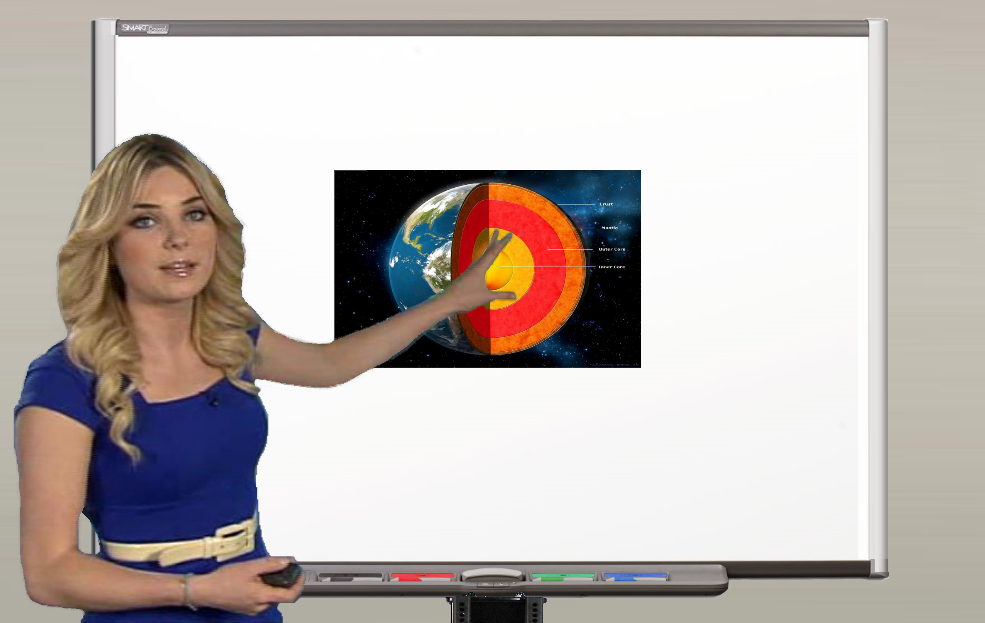
The image below displays correctly:
Issue 4. Image/text is too small, indistinguishable/hard to see
Problem: Another issue you could come across is that the text, video or images on the smartboard may appear too small or indistinguishable to your students. This may be a result of the source imagery being too small, poor resolution quality or the output image not being big enough. The text should be easily legible with minimum effort required to see it properly.
Image and text are too small:
Solution: Before recording an entire course, check to ensure that the output size is appropriate. The recommended practice is to record a short clip and then view it on a PC (15" monitor preferibly) and/or tablet to check if the image size and text are displaying properly. You can also ask someone who is unfamiliar with the contents of the lesson to view it and see if they can easily understand the text and images on the board. Once you have selected the correct text and image size, make a note of this. You can also place an object on side of the screen (if it has a magnetic side) or a faint mark on the screen to use as a guide.
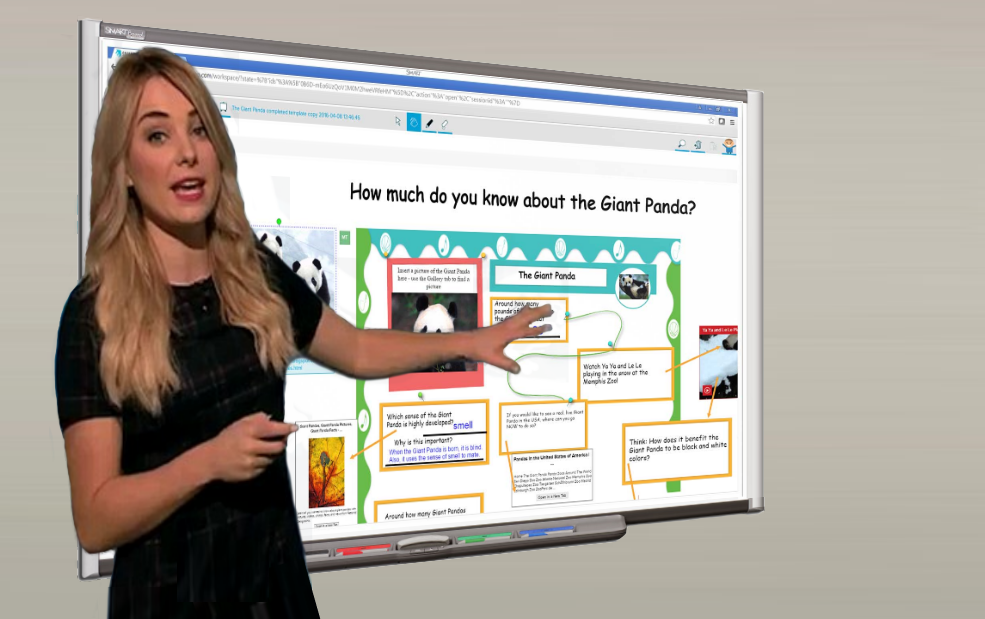
Example of larger image being used: